Creating a Project with Eclipse:
In Eclipse, go to “File" then "New" then “Android Application Project”.
Input application details in the form that appears ,Eclipse will create all the necessary Android project files and configuration.:
Application Name: App name that appears to users. For our sample project, we will use "Hello World".
Project Name: The name of our project directory and the name visible in Eclipse.
Package Name: The package namespace for our app (To name the package follow the rules as packages in the Java programming projects). Package name must be unique across all packages installed on the Android device system. For our project,we use "com.greenman_journey.helloworld."
Minimum Required SDK: The lowest version(API level) of Android that our application will support.We will leave this set to the default value for our project.
In Eclipse, go to “File" then "New" then “Android Application Project”.
Input application details in the form that appears ,Eclipse will create all the necessary Android project files and configuration.:
Application Name: App name that appears to users. For our sample project, we will use "Hello World".
Project Name: The name of our project directory and the name visible in Eclipse.
Package Name: The package namespace for our app (To name the package follow the rules as packages in the Java programming projects). Package name must be unique across all packages installed on the Android device system. For our project,we use "com.greenman_journey.helloworld."
Target SDK: The highest version of Android (API level) .
Compile With: By default, compile with is set to the latest version of Android available in our SDK.
Theme: Themes use to specifies the Android UI style to apply for our application. We will leave this set to the default value for our project.
Click next ,leave the default selections and click Next. Leave all the details in default state and click Finish.
Now our Android project is set up with some default files and folders . It will look like
To display text we will use two ways : By Layout Xml Files and By Java File.
Our first approach will be to display text by Layout Xml File.In layout file we will take a TextView and will set it's height and width as shown in picture bellow. The text which is to be display will be written in string.xml file which is located at "/HelloWorld/res/values/strings.xml" .
Now second approach will be to display text by Java File. In layout file we will give an id to the TextView as shown in picture below.
This view will now be attached to the java file.To display text from java file we will set text from strings.xml file as shown in picture below.
This way our HelloWorld Project is completed.Now to run this project in emulator ,first create a emulator.
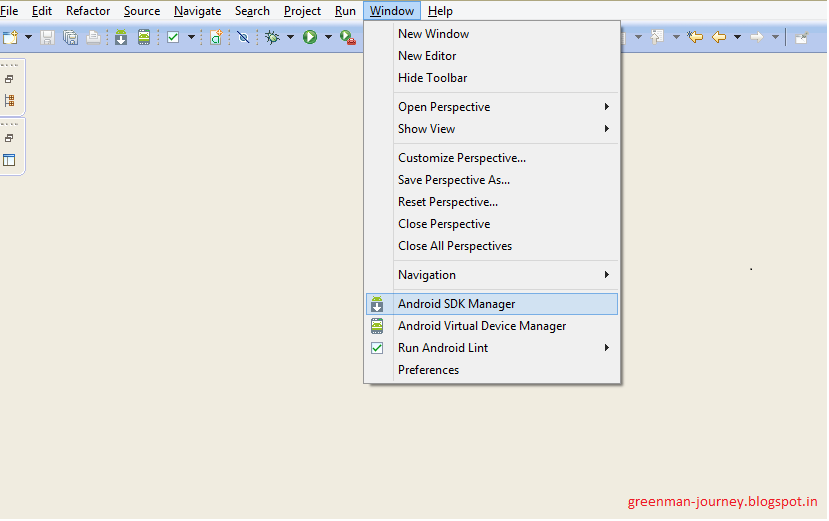
Go to "Windows" then “Android Virtual Device Manager (AVD)”
Fill the details for creating new AVD. Below the picture will give a example.
After creating the AVD, to launch it click on the avd listed in the screen ,click on "start" a popup will appear ,click launch in it.
To Run the application on emulator Right click on project then click on Run As and then "Android Application"
The Out Put in emulator will look like
The Source Code For the above example is available at HelloWorld.


No comments:
Post a Comment